Blog Category: All, Maintenance
RV TIPS & TRICKS
RV Caulking Guide
RV Caulking Guide
Doctor’s Orders
When it comes to the longevity of your vehicle, what the doc says regarding your own health applies here as well: an ounce of prevention is worth more than a pound of cure.
Your RV’s Worst Enemy
Water damage is one of the biggest threats to an RV. It cuts resale value substantially, and the repairs are expensive.
Do the Job Right
Maintaining your RV in top condition is essential, especially when it comes to keeping it watertight — and that means proper caulking. Caulking an RV prevents leaks and costly damage.
Why Caulking is Important for Your RV
Caulk is the first line of defence, sealing the joints, seams and other vulnerable areas. It deteriorates with exposure, and once it does, leaks follow. Inspecting and maintaining the exterior caulking is what preserves the structure.
Choosing the Best Caulk for RVs
- Silicone caulk — excellent flexibility and durability, though not always paintable
- Polyurethane caulk — highly durable and paintable, good for RV exteriors
- Butyl rubber caulk — good on roofs and windows, stays flexible over time
Make sure whatever you pick is compatible with the surface and rated for outdoor conditions. We recommend Geocel Caulk Sealant, or ask our parts department.
Step-by-Step Guide to Caulking Your RV
- Inspection — go over the RV for cracked, peeling or missing caulk. Seams, windows, doors and the roof are the usual suspects.
- Remove the old caulk — a caulk removal tool or a putty knife, carefully, without damaging the surface.
- Clean the surface — an RV-specific cleaner and water to get rid of dirt, grease and residue; a soft wash brush and a long-arm pole for the high parts. Let it dry completely.
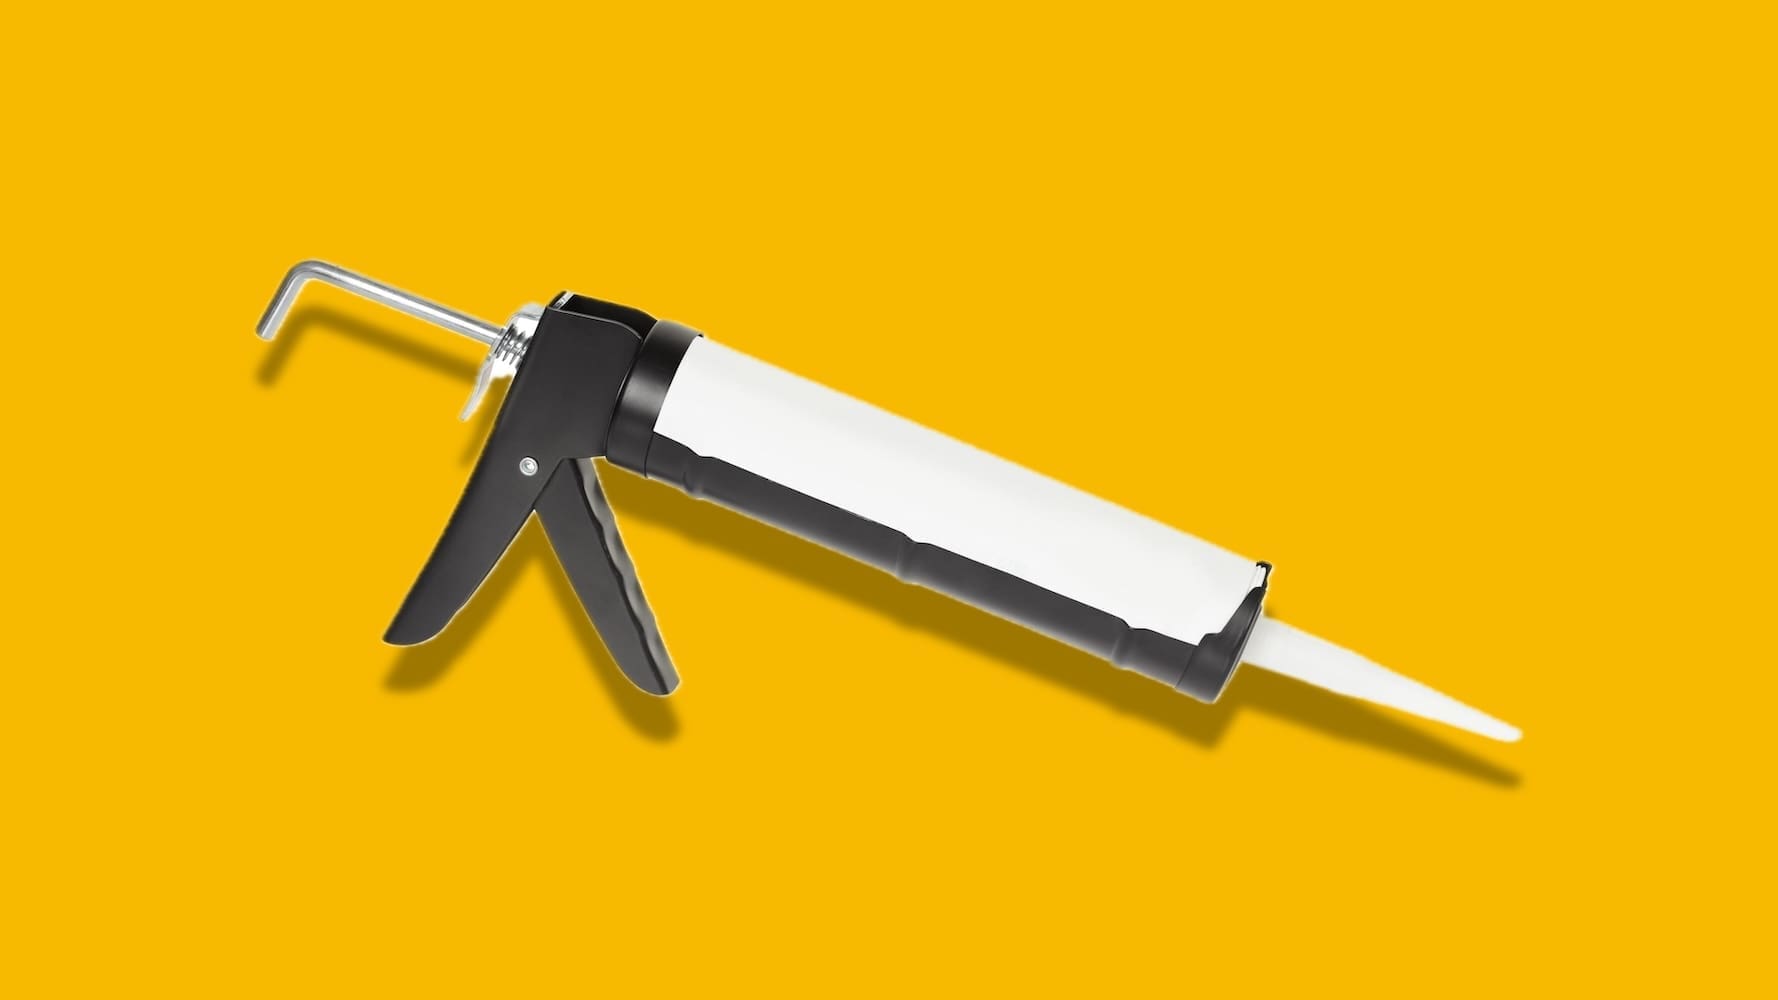
- Apply the caulk — cut the tube tip at 45° to control the flow, hold the gun at a consistent angle and keep moving.
- Smooth it — a smoothing tool or a gloved finger, for adhesion and for a clean finish.
- Let it dry — usually 24 hours, but follow the manufacturer’s instructions and allow for the weather.
Tips for Best Practices in RV Caulking
Weather. Caulk on a dry, warm day; extreme temperatures hurt adhesion and curing.
Regular maintenance. Inspect the caulking at least twice a year, spring and fall.
Use quality products. Good caulk and good tools make a real difference to how long the job lasts.
Specific Areas to Caulk on an RV
Roof — seams, vents and anything roof-mounted, with a roofing-specific caulk.
Windows — a common leak point; caulk evenly around the whole perimeter.
Exterior — every seam and joint, including around doors, storage compartments and openings.
Conclusion
Caulking your RV might seem like a daunting task, but with the right tools, products and techniques it becomes a manageable DIY project — and it keeps the RV leak-free for the adventures ahead.